Step 1: Sign up
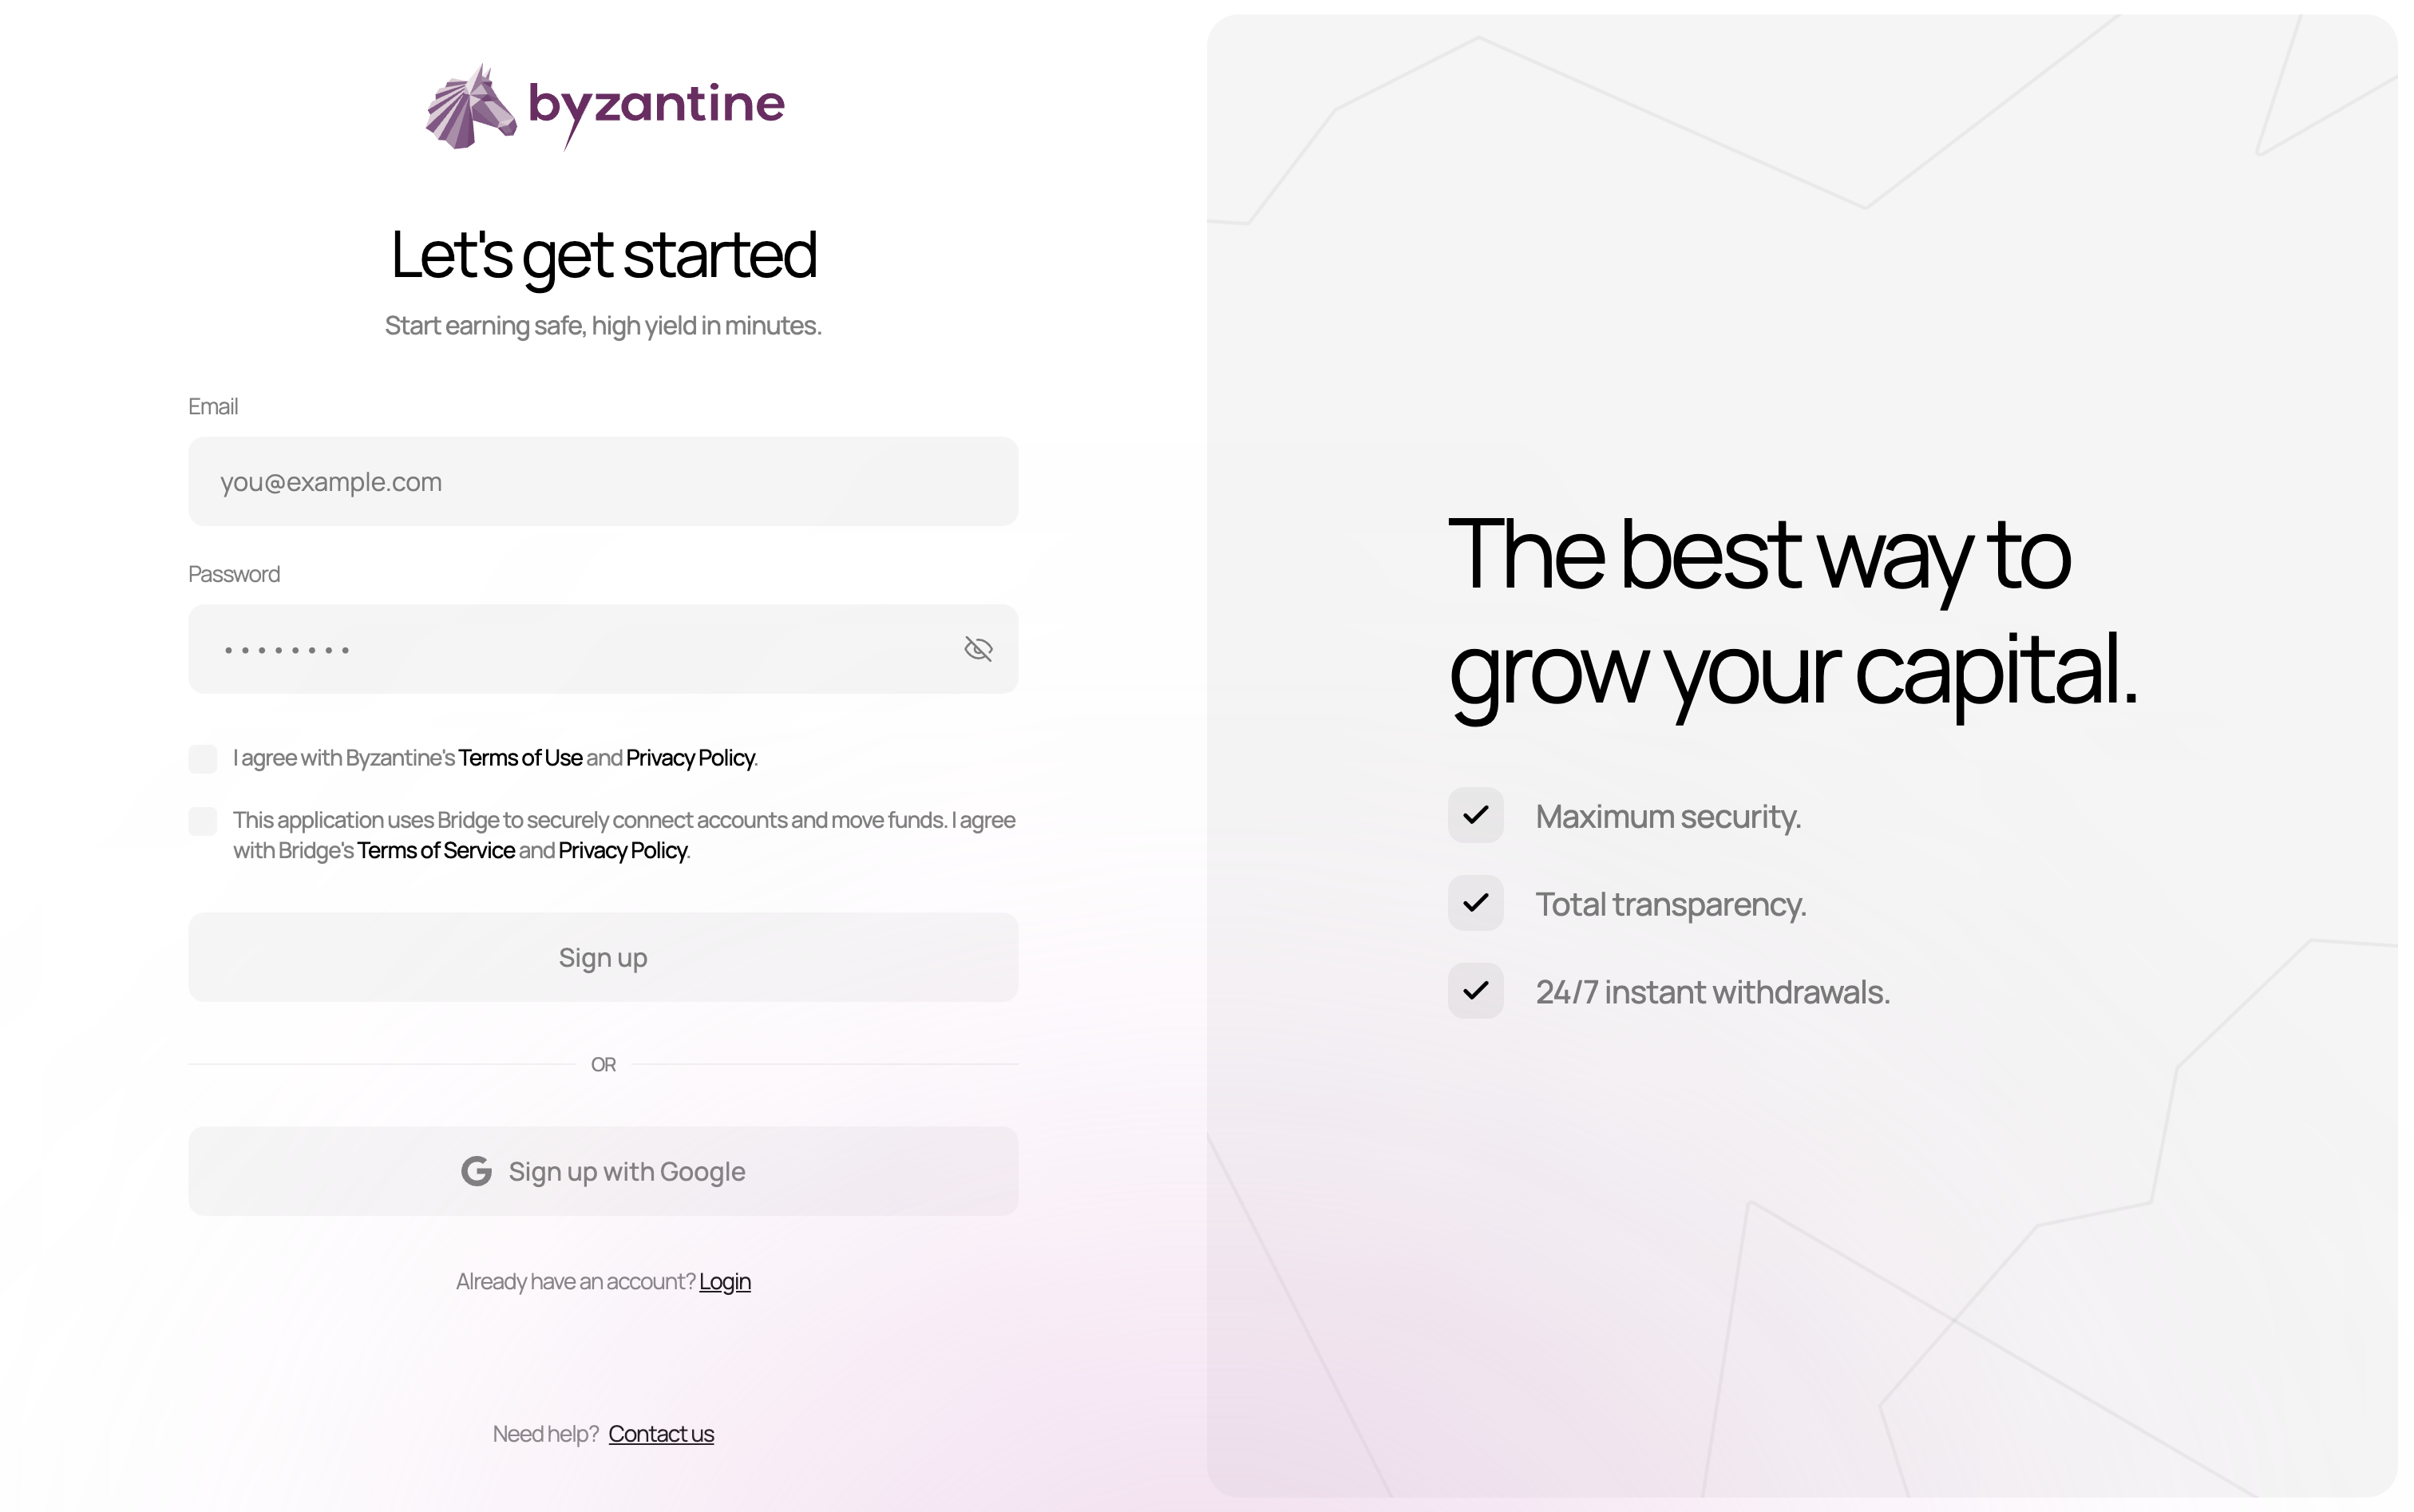
- Go to app.byzantine.fi/signup
- Enter your email address (e.g., your-email@company.com).
- Create a secure password.
- Check the boxes to agree to:
- Byzantine’s Terms of Use and Privacy Policy
- Bridge’s Terms of Service and Privacy Policy (Stripe company, payment processor)
Note: You can add multiple users to the same account later. The person creating the account doesn’t need to be the ultimate beneficial owner.
Step 2: Verifying your email

- Check your inbox (and spam folder).
- Click “Verify my email”.
- You’ll be automatically redirected to the next step.
Verification links expire within 24 hours. If you miss the window, click “Resend” on the verification page.
Step 3: Choosing your account type
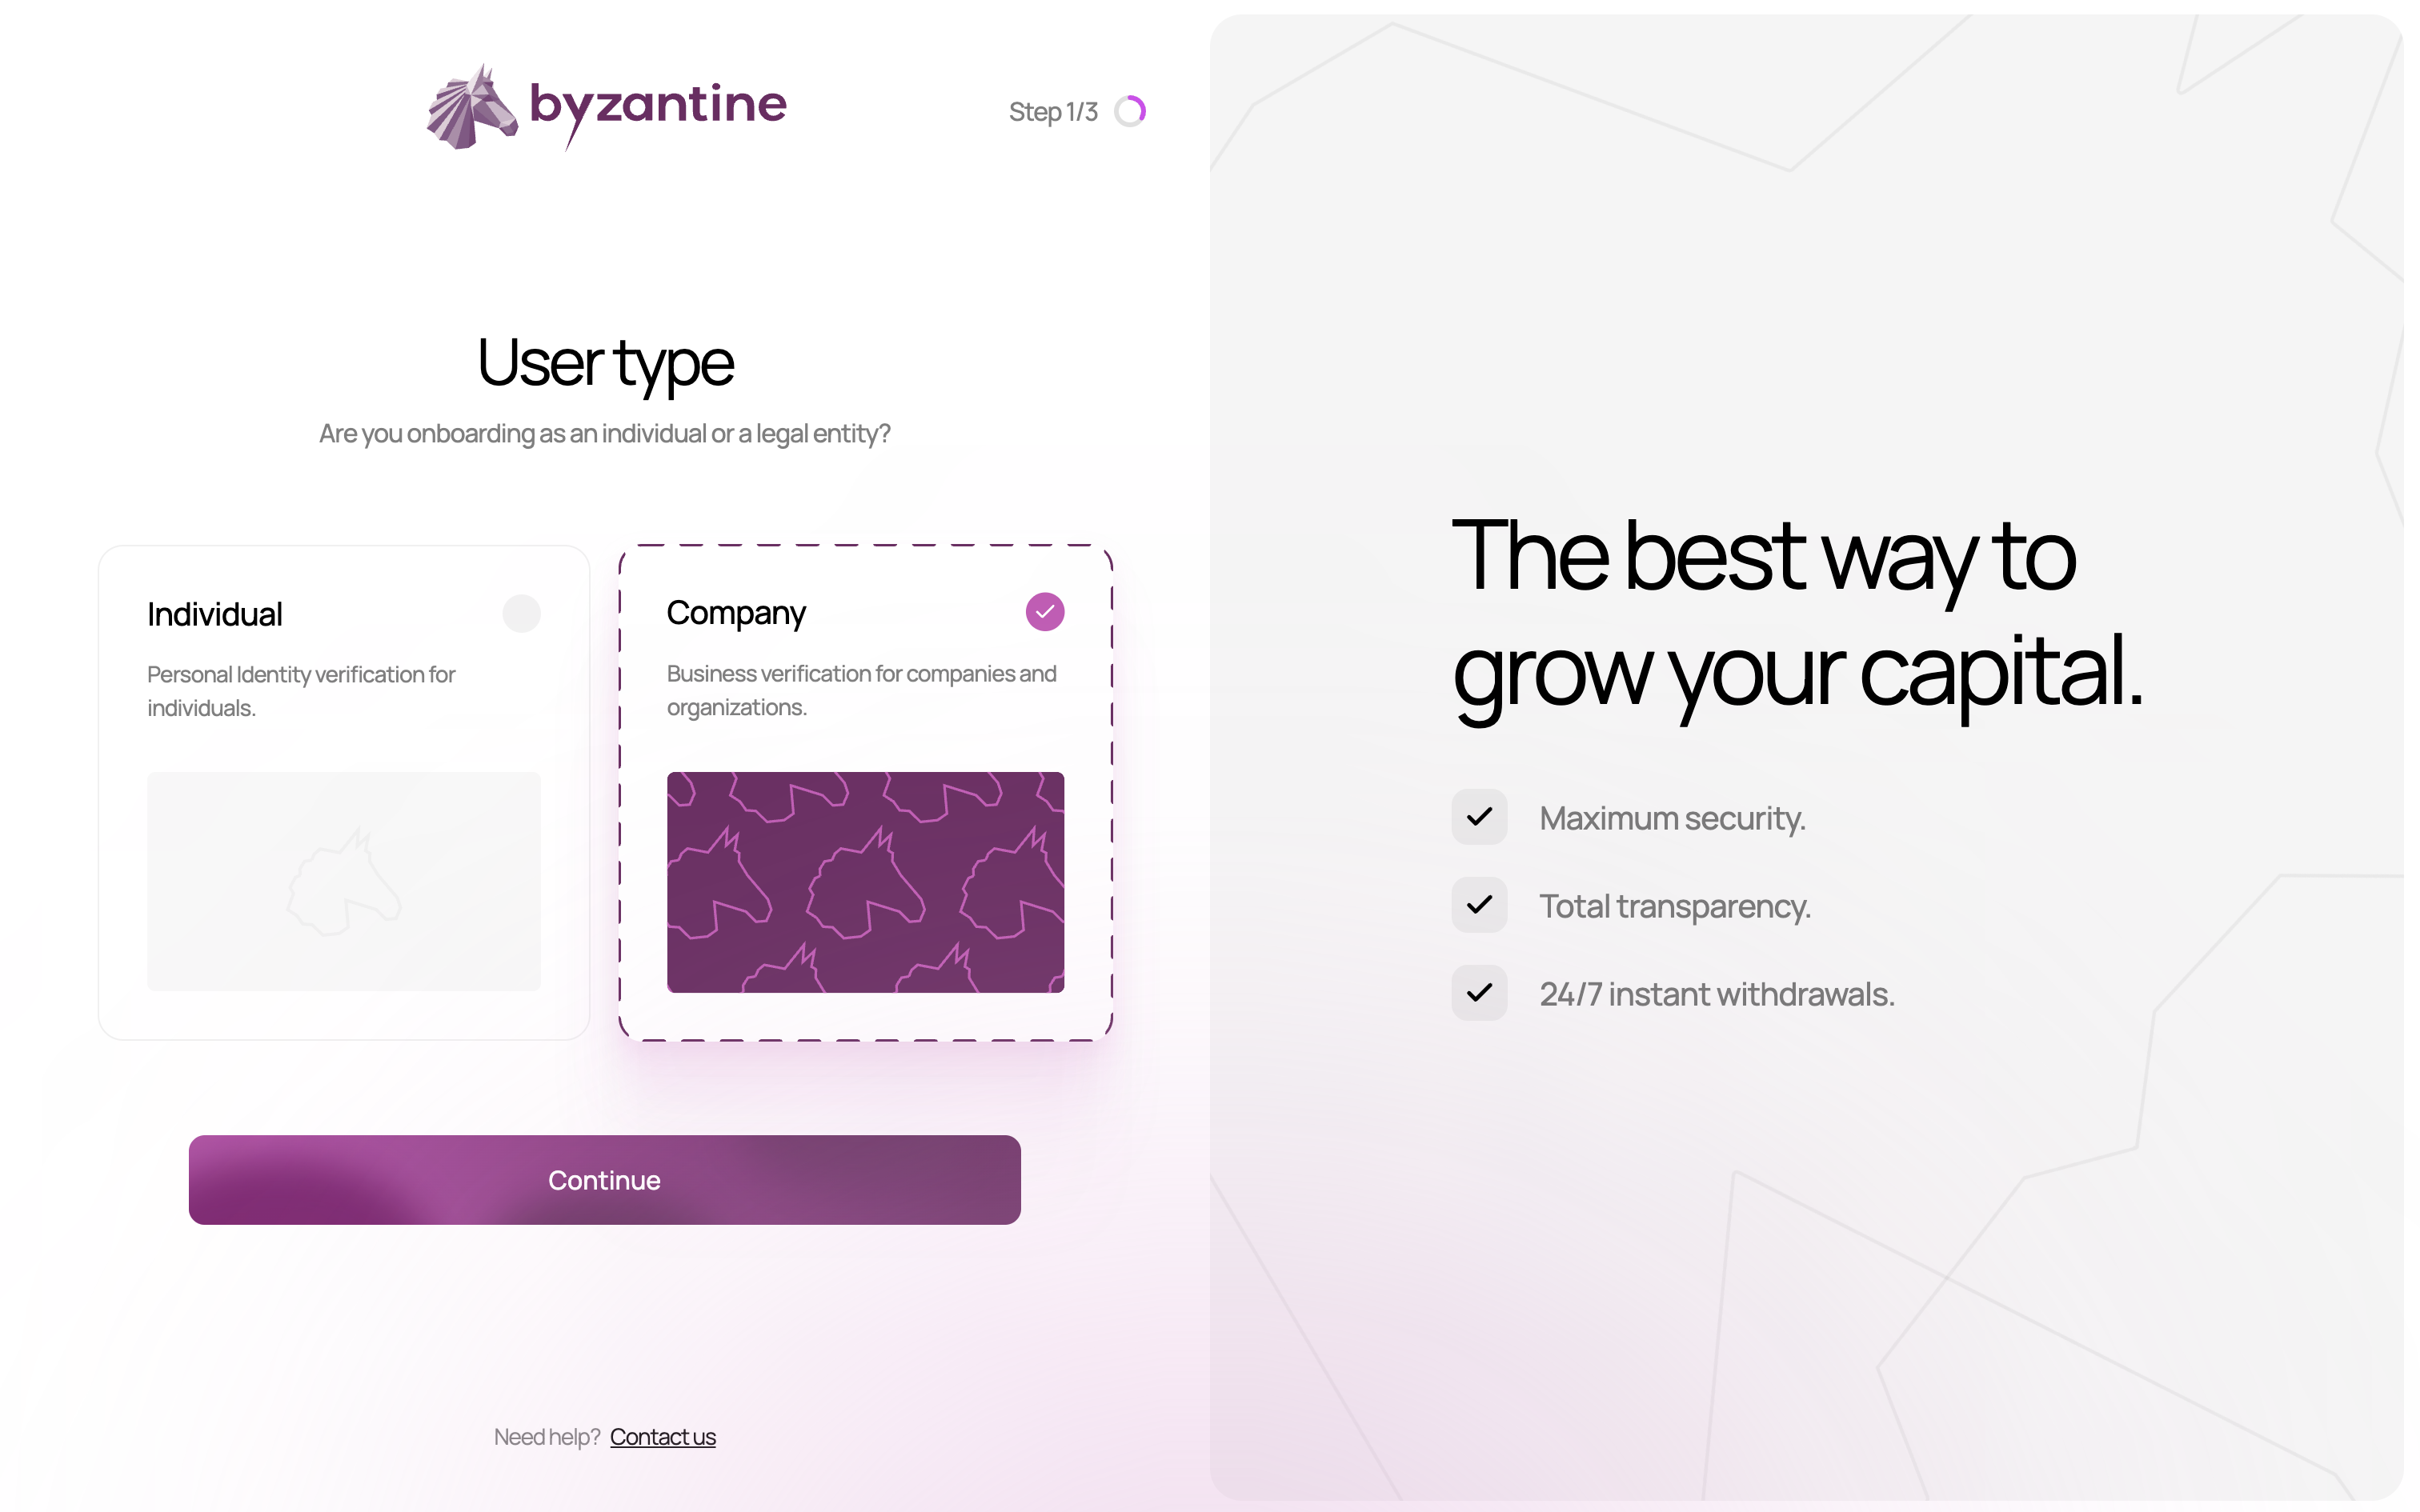
Company vs Individual
Choose “Company” if:- Funds belong to a legal entity (SAS, SARL, holding company, family office structure).
- You’re investing on behalf of a corporate entity.
- The bank account sending funds is in a company name.
- You’re investing personal funds.
- The bank account is in your personal name.
For family offices: Most family offices should select Company, even if the structure is a holding company with no commercial activity.
Step 4: Setting up security
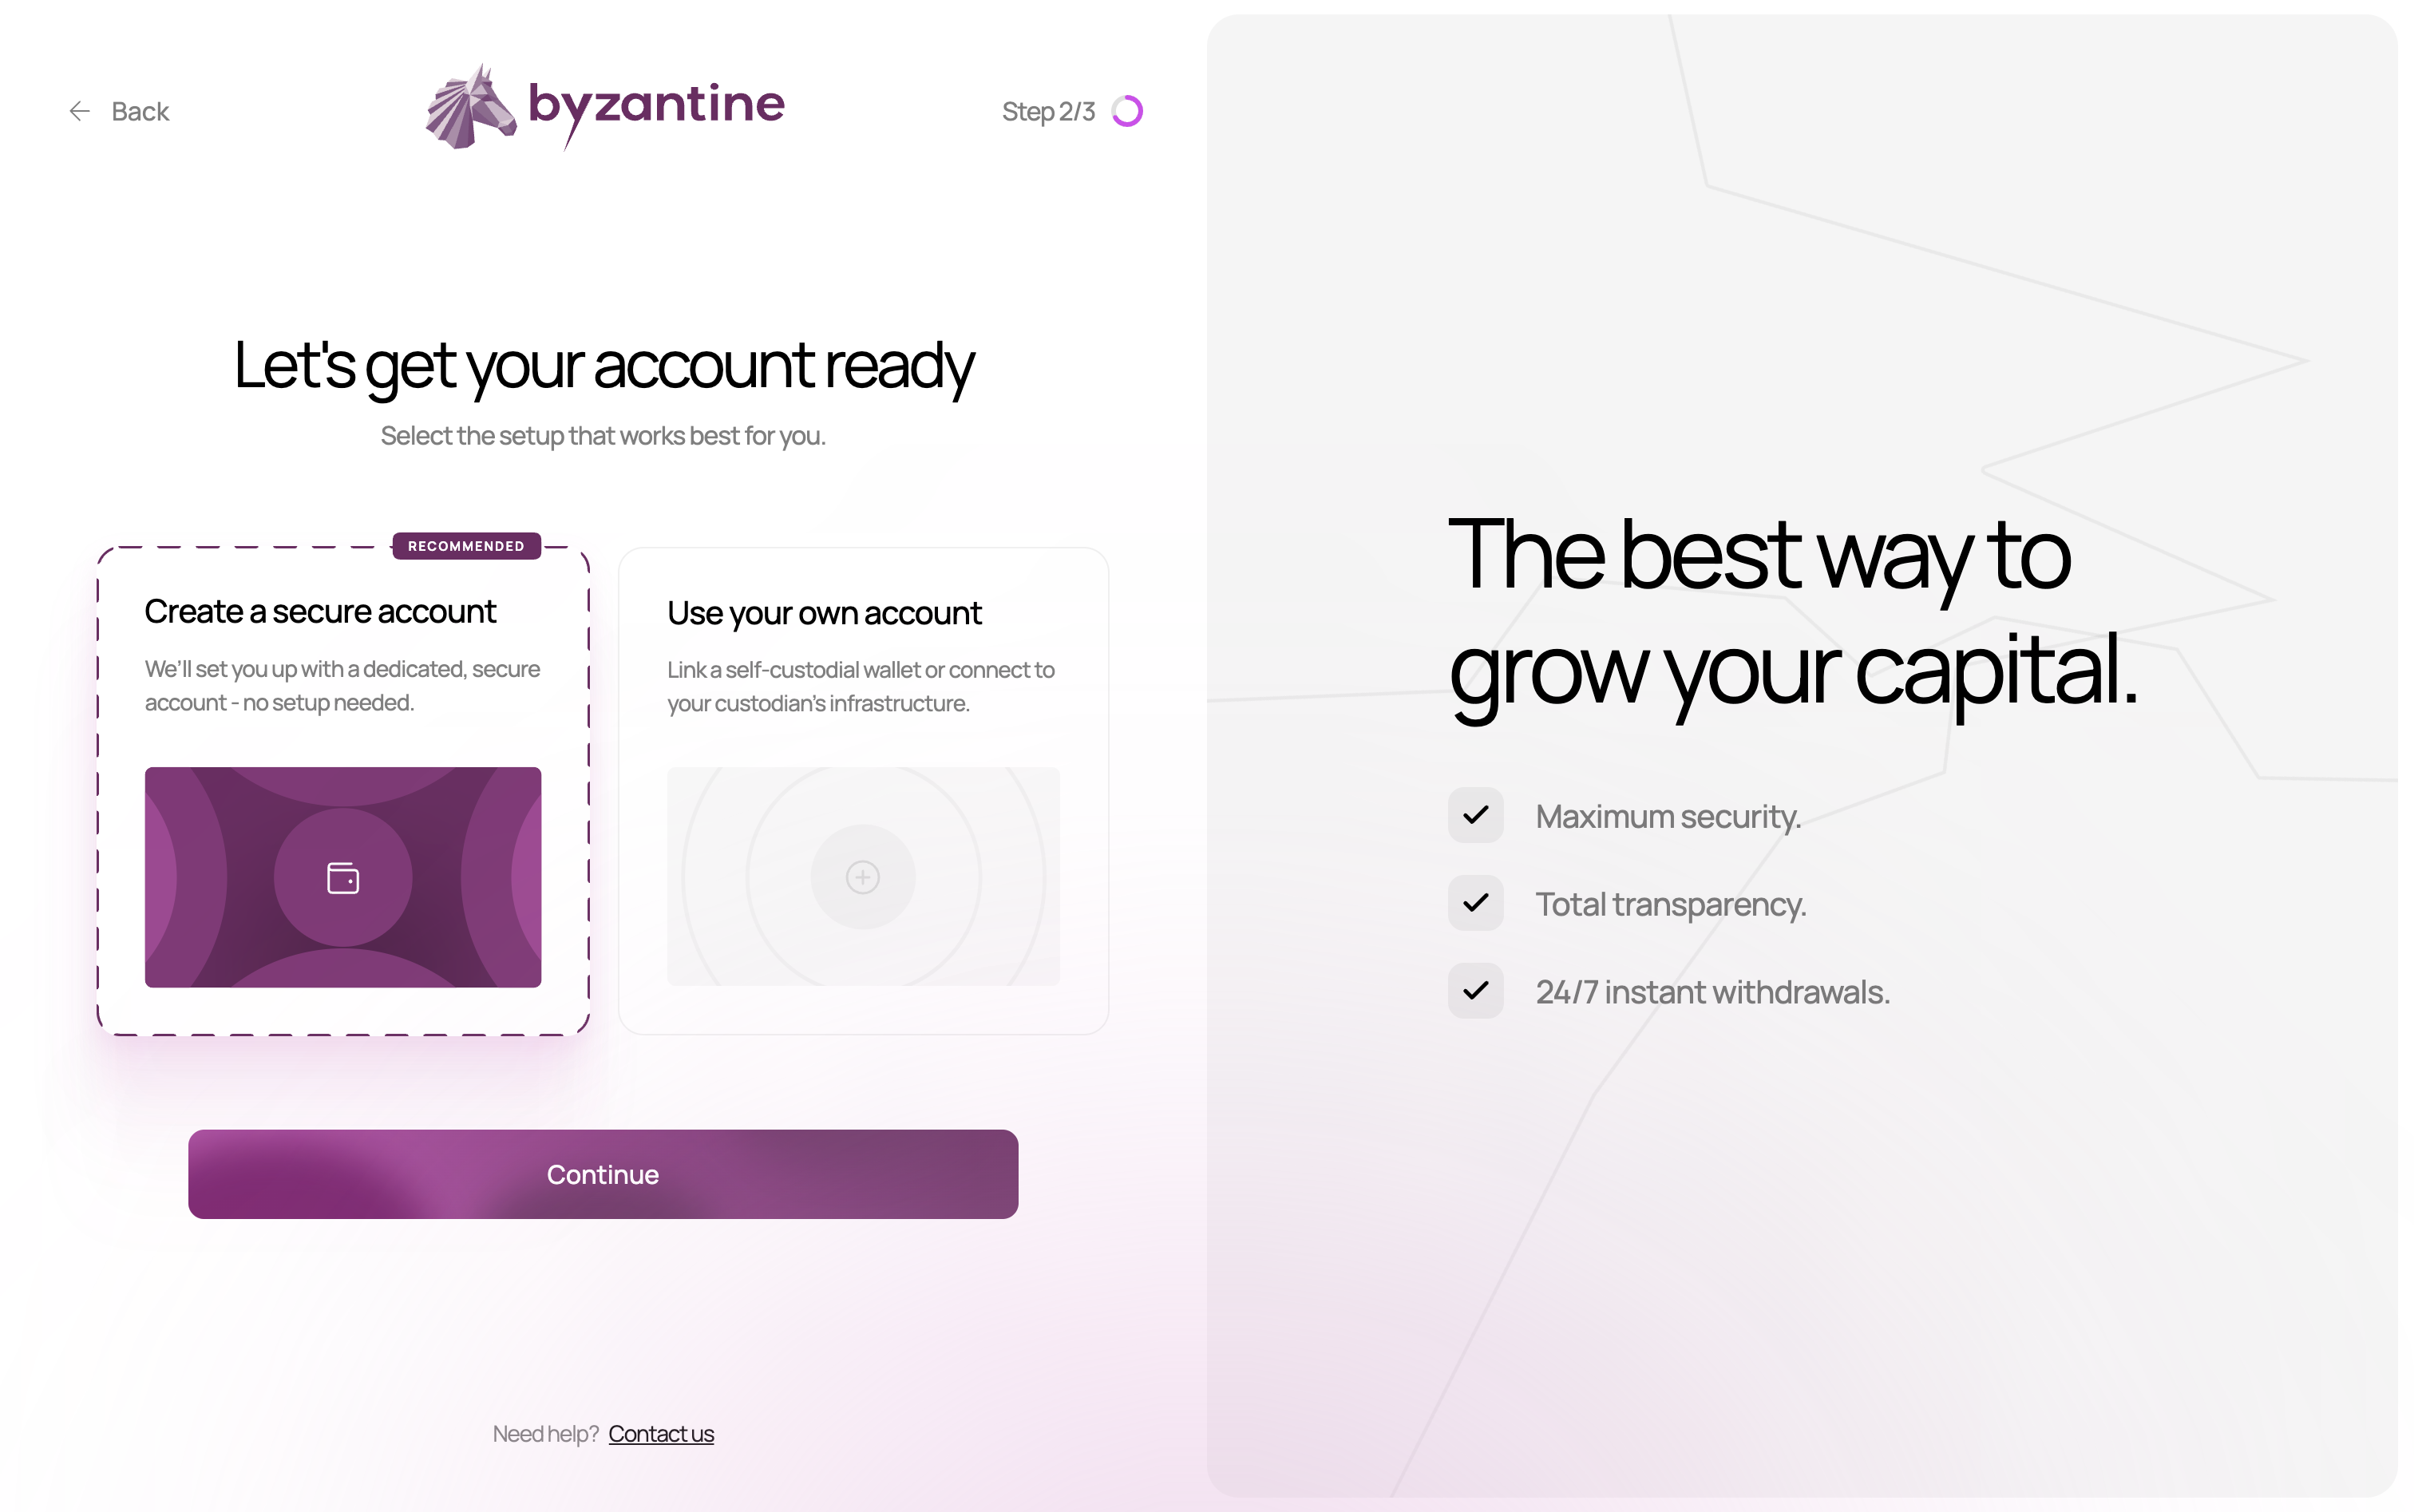
Account security options
We recommend “Create a new account” (default option) for maximum security:- Create a new account: Everything’s handled for you, just sign up and start earning.
- Use an existing account: For advanced users only.
Passkey authentication
After selecting “Create a secure account,” you’ll set up a passkey:- Your browser will prompt you to create a passkey.
- This creates a unique cryptographic key stored securely on your device.
- You’ll use this to authorise important actions (deposits, withdrawals, inviting team members, etc.).
Passkeys are more secure than passwords — they can’t be phished, guessed, or stolen in a data breach. They work with Face ID, Touch ID, or your device PIN. If you ever lose access to your passkey, Byzantine can help you reset it — see Passkey reset. To learn more about how passkeys work, see Understanding passkeys.
Step 5 (optional): Two-factor authentication (2FA)
For an extra layer of security, you can enable two-factor authentication on your account.- On the dashboard, click your profile icon and select Personal settings.
- Navigate to the Security section.
- Activate Two-factor authentication (2FA).
- Scan the QR code displayed on screen with your mobile phone to set up your account’s 2FA.
- Enter the code shown in the app to confirm activation.
Once 2FA is enabled, you’ll be asked for a code from your authenticator app each time you log in, adding an extra layer of protection to your account.